
How Do You Bake Sourdough Bread in a Loaf Pan?
Baking sourdough bread in a loaf pan is a great way to get that perfect, uniform shape for your homemade loaf. If you’ve ever struggled with shaping or crust issues, you’re definitely not alone—many bakers find it tricky to get that bakery-quality look at home.
To bake sourdough bread in a loaf pan, start by shaping your dough into a tight loaf with good surface tension and letting it proof until it doubles in size.
Place it in a greased or floured pan, making sure it’s filled enough for a good rise without overflowing.
Let it proof until puffed and slightly domed.
Bake at 400-425°F, using steam or covering the bread during baking for a crispy crust.
Proper cooling and careful slicing are key to achieving that perfect texture and crumb.
Key Takeaways
- Properly prepare and shape the dough into a tight, smooth loaf with surface tension before placing it in the pan.
- Fill the loaf pan just enough for the dough to double in size during proofing without overflowing.
- Use steam or cover during the initial baking stage to help develop a crispy crust and ensure an even rise.
- Bake at 400-425°F until the crust turns a deep golden color and the internal temperature reaches about 200°F.
- Let the bread cool briefly in the pan, then transfer it to a wire rack before slicing.
This helps preserve the crust and texture, giving you that perfect sourdough loaf.
Prepare Your Sourdough Dough for Pan Baking
To prepare your sourdough dough for pan baking, start by mixing your ingredients until just combined. Use a lively sourdough starter to add flavor and structure.
Once combined, perform multiple stretch and folds over two hours to develop gluten strength, which will give your bread its rise and texture.
After the bulk fermentation, shape your dough into a tight boule or batard, ensuring surface tension to help it hold its shape.
Let the dough rest for 15-30 minutes before placing it in a lightly oiled or parchment-lined loaf pan. This rest allows the gluten to relax, making it easier to shape and ensuring a good rise during proofing.
Finally, let the dough proof in the loaf pan until doubled and slightly puffy, about 1-2 hours.
Shape and Fill Your Loaf Pan for a Good Rise
Before placing your dough into the loaf pan, gently land it seam side down onto a floured or buttered surface to support its rise and keep its shape. Shape your dough into a tight oval or loaf, making sure it’s uniform and smooth.
Gently land seam side down on a floured surface to support rise and maintain shape.
When filling the pan, press the dough into the corners to help it expand evenly during proofing. Use a bench knife to carefully lift and transfer the shaped dough, avoiding deflation.
Fill the pan just enough so the dough has space to rise without overflowing. During proofing, it should double in size and just start to puff over the edges of the pan.
Proper shaping and filling are key to getting a good rise and a beautifully shaped loaf.
Proof Your Sourdough in the Pan for Best Results
Once your dough is shaped and placed seam-side down in the loaf pan, the next step is proofing to get the perfect rise. Proper proofing helps develop flavor and makes sure your loaf turns out light and airy. During this stage, look for the dough to double in size and become puffed and jiggly—that’s when it’s ready for baking.
To get the best results:
- Keep the loaf pan in a warm, draft-free spot so the dough rises evenly.
- For a slower fermentation and richer flavor, refrigerate the pan after the initial rise.
- Watch closely—if it’s under-proofed, it won’t rise enough, but over-proofed and it might collapse.
Proofing directly in the loaf pan encourages even expansion and gives a uniform shape, leading to a better final bake.
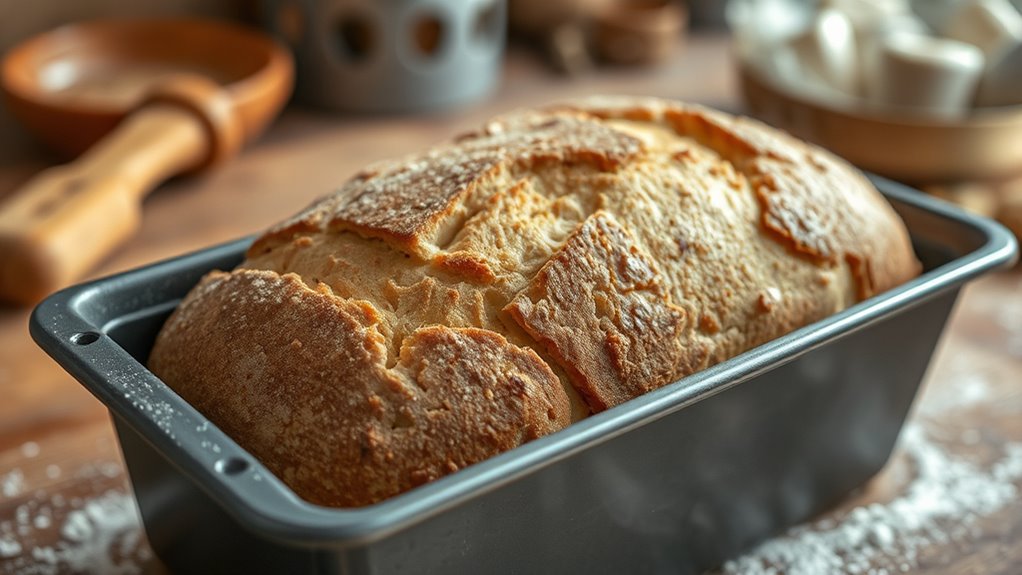
Bake Your Sourdough Loaf for a Perfect Crust
Bake your sourdough in a loaf pan at the right temperature to get a tender, glossy crust that pairs perfectly with the soft inside. Set your oven to around 400-425°F and use a preheated pan or line it with parchment paper for even heat.
This helps develop a uniform crust across your loaf. To make the crust look shiny and tender, lightly spray the loaf with water or brush it with melted butter just before baking.
Bake for 40-45 minutes. This results in a softer crust compared to open-baking methods. During the first part of baking, cover the loaf with a lid or another pan to trap steam and promote even crust development.
Once it’s done, let your sourdough cool briefly on a wire rack to keep the perfect texture.
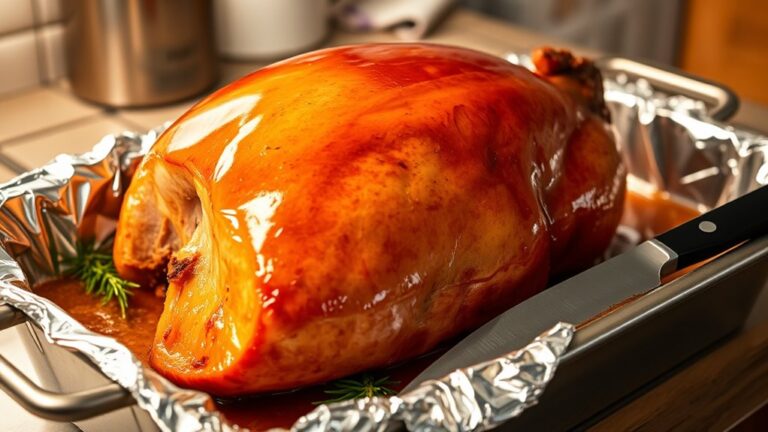
Use Steam and Coverings to Get a Crispy Crust
Using steam and coverings during baking is key to getting a crispy, bakery-quality crust on your sourdough loaf. When you bake in a covered loaf pan or Dutch oven, steam is trapped, keeping moisture close to the dough’s surface.
This helps with better oven spring and crust development. To boost this effect, preheat the covered pan so steam starts right away when you place the dough inside.
You can also add water, ice cubes, or spray steam into the oven during the first 10-15 minutes for extra crispness. After that initial phase, remove the cover to let excess moisture escape.
This process results in a thicker, crunchier crust, especially useful when baking in a loaf pan without natural oven steam.
Monitor and Adjust Baking Time and Temperature
Monitoring and adjusting your baking time and temperature helps your sourdough develop the perfect crust and interior. Keep a close eye on the baking time; usually, 45 minutes at 200°C (392°F) works, but it can vary depending on your loaf size and oven calibration.
Use a thermometer to check the internal temperature, aiming for about 200°F (93°C) to ensure proper doneness. If the crust looks too pale, try extending the baking time by 5-10 minutes or lowering the temperature slightly to prevent burning.
For a softer crust, consider covering the loaf during part of the bake or reducing the temperature. Make adjustments based on visual cues like a deep golden crust or a hollow sound when tapped to make sure your bread is perfectly baked.
Cool and Slice Your Sourdough Loaf Properly
After baking, let your sourdough cool in the pan for at least 10-15 minutes to prevent tearing.
Transfer it to a wire rack immediately to avoid a soggy bottom.
Wait until it reaches room temperature, about an hour, before slicing.
Use a serrated bread knife and gentle sawing motions for clean cuts.
Slice only what you need to keep the rest fresh.
Proper Cooling Techniques
To guarantee your sourdough bread develops a perfect crust and prevents sogginess, it’s vital to cool it properly after baking. First, let the loaf cool in the pan for 10-15 minutes, then transfer it to a wire rack.
This helps raise the bread, promoting airflow and preventing steam buildup that can soften the crust. Make sure the bread cools completely at room temperature, usually 1-2 hours, to let the crust set and moisture escape.
Use a wire rack to avoid condensation and keep the crust crispy. Wait until the loaf is fully cooled before slicing to prevent a squishy crumb and preserve that crust you worked so hard for.
Correct Slicing Methods
Once your sourdough loaf has cooled completely on a wire rack, it’s time to focus on slicing it properly. Use a sharp bread knife with a serrated edge to gently saw through the crust, applying light, even pressure for smooth slices.
Avoid pressing down hard, as this can squish the bread and ruin the crumb. Slice the loaf at a slight angle, about 30 to 45 degrees, to create larger, easier-to-hold slices perfect for sandwiches or toasting.
Waiting until the bread is fully cooled prevents tearing or gumming. For uniform slices, consider using a bread slicing guide or a pre-marked bread board.
Proper slicing maintains the crust’s texture and ensures each slice is clean and aesthetically pleasing.
Troubleshoot Common Sourdough Baking Issues
When troubleshooting common sourdough baking issues, it’s important to identify the root causes of problems like dense textures, poor oven spring, or uneven crusts. Underproofed dough can lead to a dense loaf with little oven spring, so make sure your dough has doubled in size before baking.
Ensure dough doubles in size for better oven spring and improved bread texture.
Overbaking or baking at too high a temperature can cause a dark, burnt crust, while underbaking results in a pale, gummy crumb. Use a thermometer, around 200°F, to check for doneness and ensure proper baking.
Insufficient steam during baking can toughen the crust and hinder oven spring. Add water pans or spray steam during the bake if you’re not using a covered pan. Proper handling during shaping and proofing also helps prevent tearing or flat loaves.
Make sure your dough is well proofed and doubled in size before baking. Use proper steam to improve crust and oven spring. Keep an eye on baking temperature and internal doneness for the best results.
Customize Your Sourdough Loaf With Flavors and Add-Ins
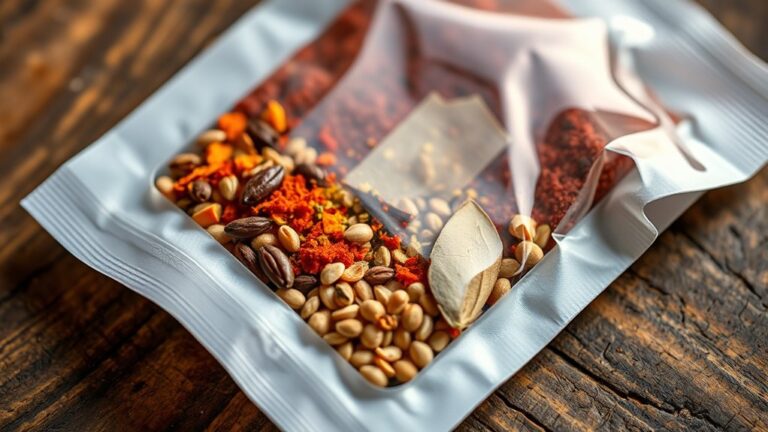
You can personalize your sourdough loaf by adding flavors and mix-ins during the baking process. Incorporate nuts, dried fruits, herbs, or spices directly into the dough or swirl in puréed ingredients for extra depth.
Adjust hydration if needed to keep the dough balanced and ensure your flavors distribute evenly. This way, every bite can be uniquely yours.
Flavor Enhancers and Mix-ins
Adding flavor enhancers and mix-ins is a great way to personalize your sourdough loaf and boost its taste. These add-ins make your bread customizable to match your preferences.
You can incorporate flavor enhancers like roasted garlic or caramelized onions into the dough before the final proof. This adds depth and a savory touch.
Mix-ins such as nuts, seeds, or cheese can be evenly distributed during shaping, so each slice has a burst of flavor. It’s a simple way to make your bread more interesting.
To elevate your loaf, try adding herbs, spices, or dried fruits during the stretch and fold stages. These small tweaks can really enhance the flavor.
You can also incorporate mashed potatoes or ground caraway seeds for extra moisture and flavor. Just remember to adjust the hydration slightly to keep the dough easy to handle.
Experimenting with these flavor enhancers and add-ins makes your sourdough unique and delicious. Have fun customizing your bread!
Fruit, Nuts, and Herbs
Incorporating fruits, nuts, and herbs into your sourdough loaf adds vibrant flavors and interesting textures. Add chopped dried fruits like cranberries or apricots during the final stretch and fold to boost sweetness and moisture.
To get that perfect crunch and flavor, fold in toasted nuts like walnuts, pecans, or almonds during shaping. Mixing fresh or dried herbs like rosemary, thyme, or basil into the dough before fermentation creates a lovely aromatic infusion that complements the bread.
For a savory twist, try adding chopped olives or sun-dried tomatoes. Make sure to gently fold these ingredients into the dough during the final mixing stages. This helps keep them evenly distributed without sinking or clumping, resulting in a flavorful, well-balanced loaf.
Frequently Asked Questions
Can I Just Bake My Sourdough in a Loaf Pan?
Yes, you can bake your sourdough directly in a loaf pan. Just make sure your dough is well-proofed and gently placed into a well-greased or parchment-lined pan.
Bake at around 400-450°F for 40-50 minutes until the crust is golden. Allow it to cool before slicing to let the crumb set properly.
This method gives you a uniform loaf that’s perfect for sandwiches and toast.
What Temperature Do I Bake Sourdough Bread in a Loaf Pan?
You should bake your sourdough in a loaf pan at around 400°F to 425°F (200°C to 220°C). This temperature gives you a beautiful, golden crust that crackles beneath your fingertips, like a treasure chest’s lock.
For a softer crust, turn the oven down to 375°F (190°C) and bake a little longer. Make sure to preheat your oven to ensure even heat distribution.
Bake your loaf for about 40-45 minutes, keeping an eye on it as it bakes.
Is Sourdough Bread Better for Diabetics?
Yes, sourdough bread can be better for diabetics because of its lower glycemic index and fermentation process. It helps slow carbohydrate absorption and improves insulin sensitivity, which can stabilize blood sugar levels.
Plus, it usually contains fewer added sugars and preservatives. However, you should still watch your portion sizes and monitor your blood sugar response, as individual reactions can vary.
Incorporating sourdough thoughtfully can support better blood sugar management.
Can Hashimoto’s Eat Sourdough Bread?
You can eat sourdough bread with Hashimoto’s, but remember, “Every coin has two sides.” Its fermentation process may lower goitrogens and improve nutrient absorption, which could benefit your thyroid health.
However, choose gluten-free or low-gluten options if gluten sensitivity is an issue. Always consult your healthcare provider or dietitian to verify sourdough fits into your personalized Hashimoto’s management plan.
Conclusion
Now that you know the secrets to baking sourdough in a loaf pan, imagine the delightful aroma filling your kitchen. Will your crust turn out perfectly crispy? Will your crumb be airy and tender?
The next loaf is your chance to master the process—every step, every tweak, bringing you closer to that ideal slice. Are you ready to uncover the final, surprising trick that’ll raise your sourdough game forever?
The oven’s waiting, and with these tips for baking sourdough in a loaf pan, your bread will turn out just right.