How You Can Bake Sourdough in Aluminum Pans Step by Step
Many home bakers dream of perfect sourdough loaves, but achieving that crusty, beautiful finish can feel tricky—especially when you’re working with aluminum pans. You’re not alone; plenty of bread enthusiasts struggle with getting an even bake and that perfect crust.
To bake sourdough in aluminum pans, start by shaping your dough to fit the pan and performing stretch and folds during fermentation.
Preheat the pan for at least 30 minutes to ensure even heat distribution. Line it with parchment paper or lightly oil it to prevent sticking.
For steaming, try methods like adding ice cubes or water on a lower rack to create humidity. Bake the bread covered, then uncover it to develop a crispy crust.
Keep an eye on the temperature and baking time for the best results.
With these tips, you’ll get a crispy, beautiful loaf. Keep exploring, and you’ll master sourdough baking in aluminum pans in no time.
Key Takeaways
- Preheat the aluminum pan for at least 30 minutes. This helps ensure even heat distribution, which is key for a good bake.
- Shape and prepare your dough, then line or oil the pan to stop the bread from sticking.
- Bake the bread covered for about 20-25 minutes. This traps steam and helps the crust develop nicely.
- After that, uncover the pan and continue baking until it’s golden brown.
- Check the internal temperature — around 209°F — to know when it’s done. This way, you won’t overbake it.
- Once out of the oven, let the bread cool in the pan for a few minutes. Then transfer it to a wire rack to cool completely.
Why Use Aluminum Pans for Sourdough Baking?
Using aluminum pans for sourdough baking offers several practical advantages. Their excellent heat conduction guarantees even baking, helping develop a crispy crust and consistent bread crust every time.
Aluminum pans ensure even baking and a crispy, consistent sourdough crust every time.
Lightweight and easy to handle, aluminum pans make transferring hot dough in and out of the oven safer and more manageable, especially during home baking. Their affordability and wide availability make them a popular choice for bakers at all levels.
When combined with a double pan method using parchment paper, aluminum pans create a controlled baking environment similar to a Dutch oven. This traps steam and enhances crust development.
Plus, their non-reactive nature means they won’t affect your bread’s flavor or color, ensuring your sourdough turns out perfect every time.
How to Prepare Your Dough for Aluminum Pan Baking
Before placing your dough into an aluminum pan, it’s important to prepare it properly to ensure a good bake. Proper dough prep helps with oven spring and gives you a nice crumb structure.
Shape your dough into an oval or loaf that fits your pan, leaving enough space for it to expand during baking. This helps the bread rise evenly and prevents it from sticking.
Do stretch and folds during bulk fermentation to develop gluten strength. This step helps your dough hold its shape and improves overall structure.
For deeper flavor and better crumb, do a cold retardation for 8 to 24 hours. Afterward, let the dough come to room temperature before baking.
Just before putting it in the oven, score the top of your dough. This controls oven spring and makes the crust look more appealing.
Controlling hydration and ensuring your gluten is well-developed are key. They create a resilient dough that proofs nicely in the pan.
Step-by-Step: Baking Sourdough in Aluminum Pans
To get started, preheat your oven with the aluminum pans inside at 375°F for at least an hour to guarantee even heat. Once your dough is shaped and proofed, transfer it directly into a parchment-lined pan, covering it to trap steam early on.
Follow the timing carefully, baking covered for 20-25 minutes before uncovering. This helps develop a crust and reach the right internal temperature.
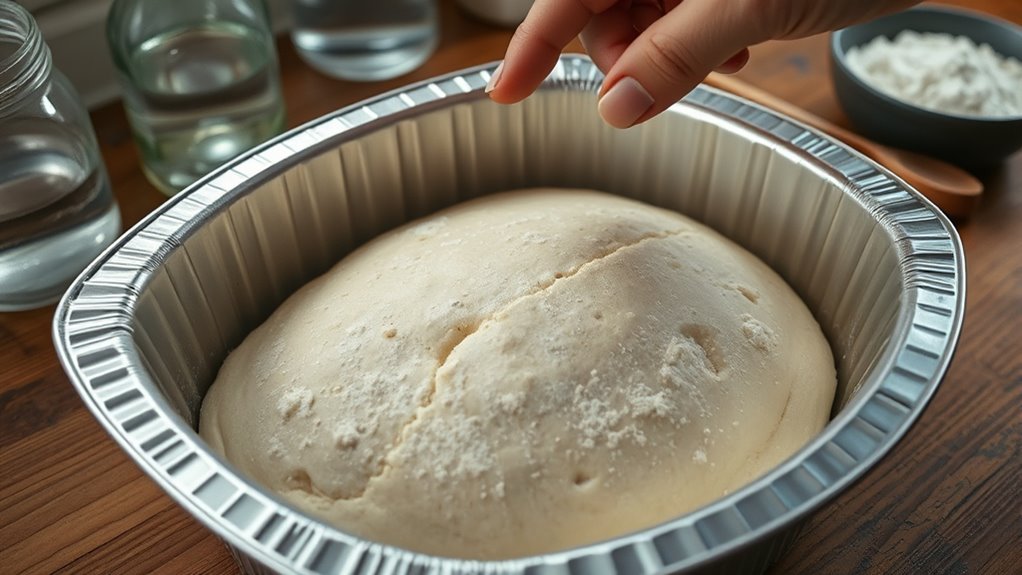
Preparing the Aluminum Pans
Cleaning and drying your aluminum pans thoroughly is essential before you start baking. Proper preparation guarantees your sourdough doesn’t stick and reacts safely at high temperatures. To prepare:
- Make sure your aluminum pans are oven-safe and can handle temperatures above 450°F.
- Line the pans with parchment paper or apply a light oil coating. This helps prevent sticking and makes removal easier.
- Preheat the pans in the oven during the initial phase. This creates a hot environment for better oven spring.
- When panning dough, handle gently to avoid deflation and maintain the loaf’s shape.
Following these steps ensures your pans are ready for baking, helping you get a perfect sourdough with a great crust and texture.
Baking Technique and Timing
Starting with a properly preheated oven and aluminum pan is essential for a well-risen sourdough with a crispy crust. Preheat your oven and the aluminum pan to 375°F for at least 30 minutes to ensure even heat.
Place the shaped dough in the pan, cover it with parchment paper, and bake covered for 20-25 minutes. This traps steam, helping create a tender interior.
Afterwards, remove the cover and continue baking at 350°F for 15-20 minutes until the internal temperature hits about 209°F. Use a thermometer for accuracy to avoid over-browning.
Proper timing and temperature control are key for developing a nice crust and consistent baking. Let the bread cool in the pan for 10 minutes, then transfer to a wire rack to cool completely and develop that perfect crispness.
How to Generate Steam Without a Dutch Oven
You can generate steam in your oven by placing a heatproof dish filled with ice cubes on a lower rack or adding boiling water to a tray beneath your baking surface.
Spraying water onto the oven walls or dough during the first few minutes also helps create a crispy crust.
Using a covered aluminum pan or an upside-down roasting pan over your dough traps moisture and mimics a steaming environment effectively.
Using Water Pans Effectively
Generating steam without a Dutch oven is possible by placing a metal or heatproof dish filled with ice cubes or water on a lower rack in your oven. To make the most of water pans, follow these steps:
- Preheat your oven with the water pan inside for at least 30 minutes to build a steady steam environment.
- Place water at the bottom of the oven, making sure the water pan is positioned to produce steam during baking.
- After 10-15 minutes, remove the water pan to help develop a nice crust and browning.
- If you want extra steam, use a spray bottle to mist water on the dough for better oven spring and a shiny crust.
This method creates the perfect steam during baking, giving you a crisp, well-developed sourdough crust.
Alternative Steam Generation Methods
When baking sourdough without a Dutch oven, creating steam is key for a crispy crust and good oven spring. You can generate steam by placing an oven-safe dish, like a cast iron or metal tray filled with ice cubes, on the lower rack during preheat. This creates a steam environment as the ice melts.
Alternatively, spray water directly onto the oven walls or dough surface during the first few minutes to boost moisture retention. Using an inverted pan or a water container on the oven floor traps moisture, mimicking a sealed environment.
Preheating a baking stone along with a small, heatproof water container helps produce steam quickly. These methods guarantee your bread develops a glossy crust and ideal oven spring without a Dutch oven.
Adjusting Baking Temperatures and Times for Aluminum Pans
Because aluminum pans conduct heat so well, it’s important to adjust your baking temperature and time to prevent over-browning or burning. Lower the oven temperature by 25-50°F from what the recipe calls for to account for the faster heat transfer.
Keep in mind: reduce the baking temperature to avoid dark crusts. Also, check for doneness earlier, about 5-10 minutes before the original baking time.
Instead of relying only on time, use an internal temperature of around 209°F to know when your bread is fully baked. If needed, extend the baking time slightly to get the crust color and doneness just right.
These tweaks will help your sourdough develop a beautiful crust without burning, thanks to aluminum pans’ better heat control.
Troubleshooting Common Problems in Aluminum Pan Sourdough Baking
Troubleshooting common problems in aluminum pan sourdough baking means paying close attention to how you prepare and bake your dough. Overproofed dough can spread out or lose its shape, so keep an eye on proofing times.
Monitoring proofing times prevents overproofing and maintains your bread’s shape and texture.
Incorrect oven temperature or uneven heat can stop your bread from rising properly and affect crust development. Using the right steaming method helps you get a shiny, crisp crust—skipping it can leave the crust dull and thick.
Proper scoring prevents uncontrolled bursting and helps the bread expand evenly. Rough handling of the dough can lead to a dense crumb and poor shape, so be gentle when shaping and proofing.
Ensuring gentle handling and accurate proofing times improves dough texture and supports better oven spring. Addressing these issues will help you produce consistently better loaves in aluminum pans.
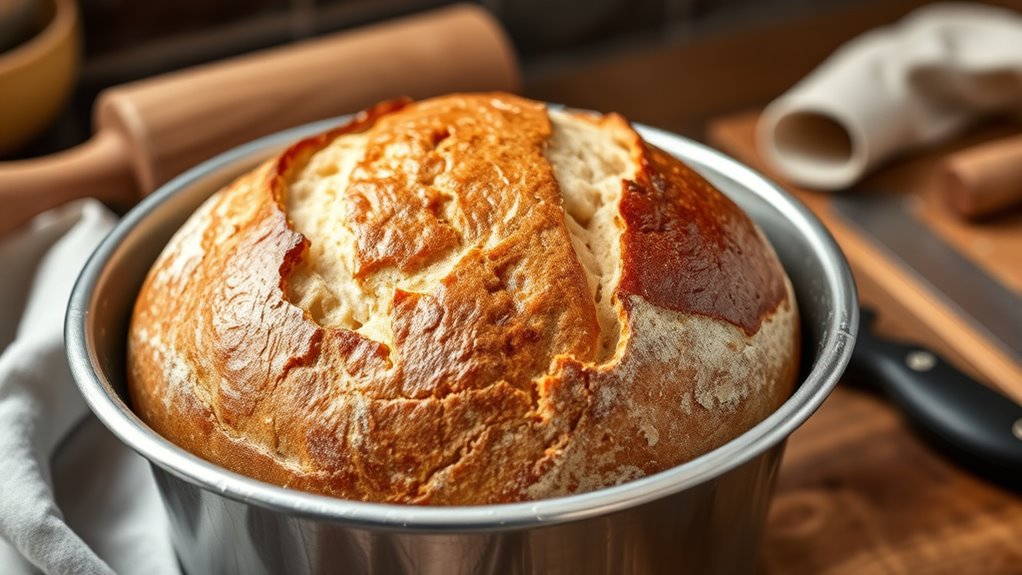
Tips for Achieving a Crusty, Beautiful Sourdough in Aluminum Pans
Achieving a crusty, beautiful sourdough in an aluminum pan starts with proper preheating. Preheat your aluminum pan for at least 30 minutes to ensure even heat distribution, which helps develop a better crust.
Use the following tips:
- Cover the dough with parchment paper and the aluminum pan during the initial baking phase to trap steam, which improves crust formation.
- Generate baking steam by spritzing water or placing ice cubes in the oven during the first half of baking. This creates a shiny, crackly crust.
- Remove the cover near the end of baking so the crust can brown nicely and turn a beautiful, golden color.
- Lower the oven temperature slightly, around 375°F instead of 450°F, to prevent over-browning and promote even crust development.
Frequently Asked Questions
How Long to Bake Sourdough in an Aluminum Pan?
You should bake your sourdough in an aluminum pan for about 40 to 45 minutes at 375°F. Keep an eye on the crust; if it’s too light, bake a little longer. If it’s too dark, reduce the time.
Use an internal temperature of 209°F to check if it’s done. Remember to uncover the pan in the last 10-15 minutes to develop a nice crust.
Is Sourdough Bread Better for Diabetics?
Isn’t it tempting to think all bread is the same? Sourdough bread can be better for diabetics because it has a lower glycemic index and is easier to digest.
Its fermentation process and probiotics may support better blood sugar control and gut health. Choosing whole grain or rye options boosts fiber, but remember, portion control matters to keep blood sugar levels in check.
How to Bake With Aluminum Pans?
To bake with aluminum pans, start by preheating your oven well, at least an hour, for even heat. Grease or line the pan to prevent sticking, then place your dough inside.
Cover it with another pan or lid to trap steam early on, and uncover later for crust development. Bake at 375°F to 400°F until the internal temperature hits 209°F.
Finally, cool completely before slicing to ensure your baked goods set properly.
Is Sourdough Bread Ok for GERD?
Yes, sourdough bread can be a good option for your GERD. Its natural acids and longer fermentation help break down gluten and carbs, making it easier to digest. This can help reduce the chances of reflux.
But be careful with toppings—high-fat or spicy ones can still cause trouble. Keep track of how your body reacts, and talk to your doctor for personalized advice. Sourdough might just become your reflux-friendly favorite!
Conclusion
Baking sourdough in aluminum pans is like nurturing a delicate garden. You need the right tools, patience, and attention to detail.
With each step, you cultivate your loaf’s potential, watching it rise and develop its character. Remember, even in humble aluminum, beauty and flavor flourish when you nurture them with care.
Think of this method as a journey—each loaf teaches patience and resilience. It turns simple ingredients into a masterpiece that’s truly yours.
Using aluminum pans for sourdough baking is a great choice, and with care, your bread will turn out beautifully every time.