How to Make Beef Gravy From Beef Drippings in 8 Easy Steps
Many home cooks find making beef gravy from drippings intimidating or tricky, especially when trying to get that rich, smooth finish. You’re not alone—lots of people struggle with turning flavorful drippings into perfect gravy. But don’t worry, with a few simple steps, you can master making beef gravy from beef drippings in no time.
To make beef gravy from drippings in 8 easy steps, start by collecting and straining the drippings, scraping up browned bits for flavor. Make a roux with fat and flour, then gradually whisk in warm beef broth or drippings until thickened. Season and strain the gravy for smoothness, adjusting flavors as needed. Reheat and store leftovers properly.
If you follow these steps closely, you’ll master a rich, flavorful gravy—continue on for detailed tips and tricks.
Key Takeaways
- Collect and strain the beef drippings, scraping up the browned bits for extra flavor. Then measure the drippings and set them aside for later use.
- Prepare a roux by cooking flour with the beef fat or butter until it turns a nice golden color.
- Gradually whisk warm beef broth into the roux, stirring constantly. Cook until the mixture thickens up nicely.
- Strain the gravy to make it smooth. Then, taste and adjust the seasoning as needed. If you like, add a knob of butter or a splash of cream for extra richness.
- Reheat the gravy gently over low heat. Stir it well to keep the consistency nice and smooth. Serve hot over your favorite dishes and enjoy!
What Are Beef Drippings and Why Use Them for Gravy?
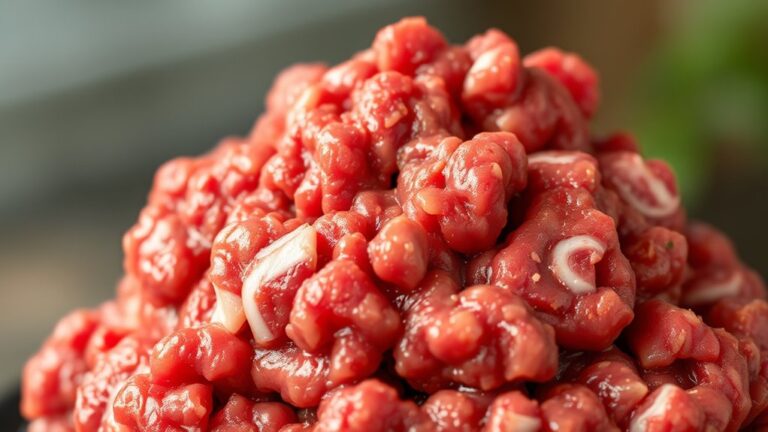
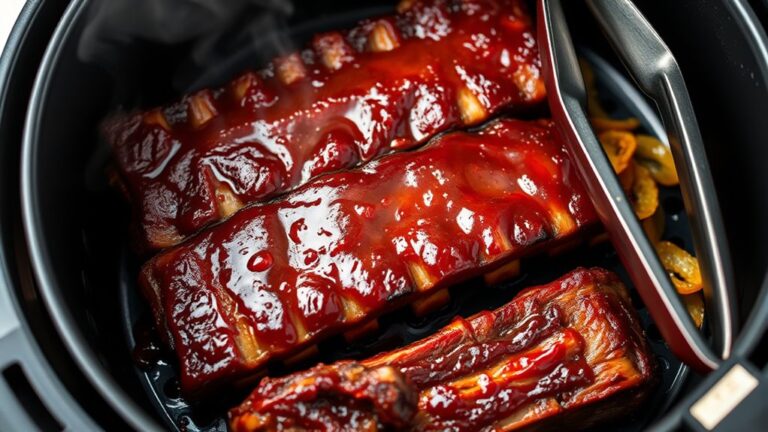
Beef drippings are the flavorful liquids and browned bits left in the pan after roasting or cooking beef. These pan juices contain concentrated beef juices, fat, and caramelized residues that boost the flavor of your gravy.
Using beef drippings adds a rich, homemade touch that store-bought broth can’t match, giving your gravy depth and authenticity. When you collect and incorporate drippings, you maximize flavor from your cooked meat, making every bite more satisfying.
They serve as a savory base, infusing your gravy with a robust beef taste. Skimming, straining, or combining drippings with other liquids helps you create a smooth, rich foundation.
How to Collect and Prepare Beef Drippings for Perfect Gravy
Start by carefully pouring off excess fat from the roasting pan, leaving about 2 tablespoons with browned bits. Then, scrape those bits to maximize flavor.
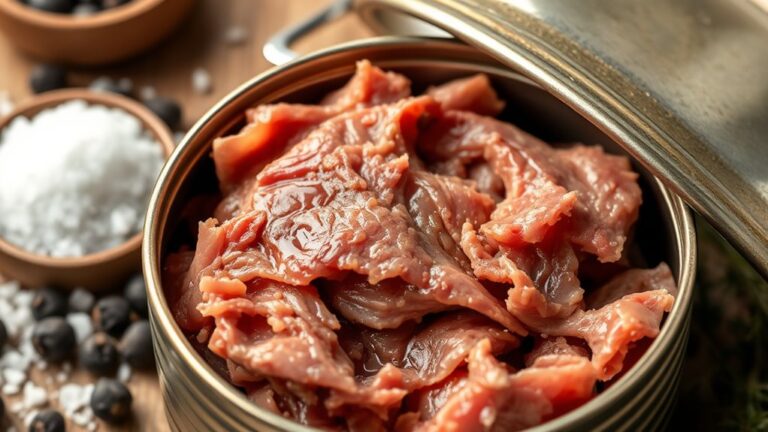
Strain the drippings through a fine mesh sieve for a smooth gravy. Reserve any remaining drippings for other uses or to deepen your gravy’s richness.
Collect Drippings Carefully
After removing the cooked meat from the pan, carefully pour off the excess fat, leaving about 2 tablespoons of beef drippings and browned bits behind for flavor. Use a spoon or spatula to scrape up any browned bits stuck to the pan, so they mix into the drippings for richer gravy.
To get a smooth base, strain the drippings through a fine mesh sieve to remove any solid bits. This step boosts flavor and keeps the gravy’s texture clean.
Measure the drippings accurately because they have concentrated flavors that will impact the gravy’s richness and seasoning. If you’re not using the drippings right away, store them in a sealed container in the fridge to keep their flavor fresh.
Proper collection of the drippings ensures a flavorful, well-made gravy.
Strain and Skim Fat
Once you’ve removed the meat from the pan and poured off most of the excess fat, it’s time to focus on refining the drippings. Carefully pour off the fat, leaving about 2 tablespoons to start your gravy. Use a spoon or a fat separator to skim any remaining surface fat, ensuring a cleaner flavor.
Scrape the browned bits from the pan and add them to the drippings—they’ll deepen your gravy’s richness. Then, strain the combined drippings and browned bits through a fine mesh sieve to remove solids and achieve a smooth, flavorful gravy.
Skim fat to remove excess fat for a cleaner taste and confidence in a perfect finish. Strain drippings to eliminate solids for a smooth texture, giving you satisfaction in craftsmanship. Collect browned bits to boost flavor and richness, adding pride in the depth of flavor.
Finally, do a final strain to ensure a silky gravy consistency. This step will leave you excited for that perfect, flavorful gravy.
Store for Gravy
To collect beef drippings for your gravy, carefully pour the pan juices into a heatproof container, leaving about 2 tablespoons of fat along with the browned bits in the pan. Store the drippings in an airtight container and refrigerate if you’re not using them immediately.
This keeps the rich flavor intact and prevents spoilage. When you’re ready to make your gravy, reheat the drippings gently on the stove until warm. The golden fat and concentrated browned bits create a flavorful base.
If the drippings are too thick or solidified, warming will loosen them for easy incorporation. Proper storage guarantees your beef drippings stay fresh, flavorful, and ready to transform into delicious gravy whenever you need it.
Follow These 8 Easy Steps to Make Delicious Beef Gravy
To make delicious beef gravy, you’ll start by preparing the pan drippings. Then create a roux to thicken it.
Next, add stock gradually and cook until it thickens. Finish up with your favorite seasoning.
Once it’s ready, strain if needed and serve for a rich, flavorful gravy.
Prepare Pan Drippings
Have you ever wondered how to make the most flavorful beef gravy from your roast? Start by pouring off excess fat from the pan, leaving about 2 tablespoons of pan drippings along with the browned bits stuck to the bottom.
Use a spoon or spatula to scrape up these caramelized bits, as they add rich flavor. If needed, transfer the drippings and browned bits to a skillet or saucepan for easier handling.
Keep the heat at medium-high to maintain the temperature and prevent cooling down the drippings. Make sure the pan drippings are evenly distributed and free of excess liquid before adding any thickening agents.
This step ensures your gravy will be rich, flavorful, and perfectly textured.
Make a Roux
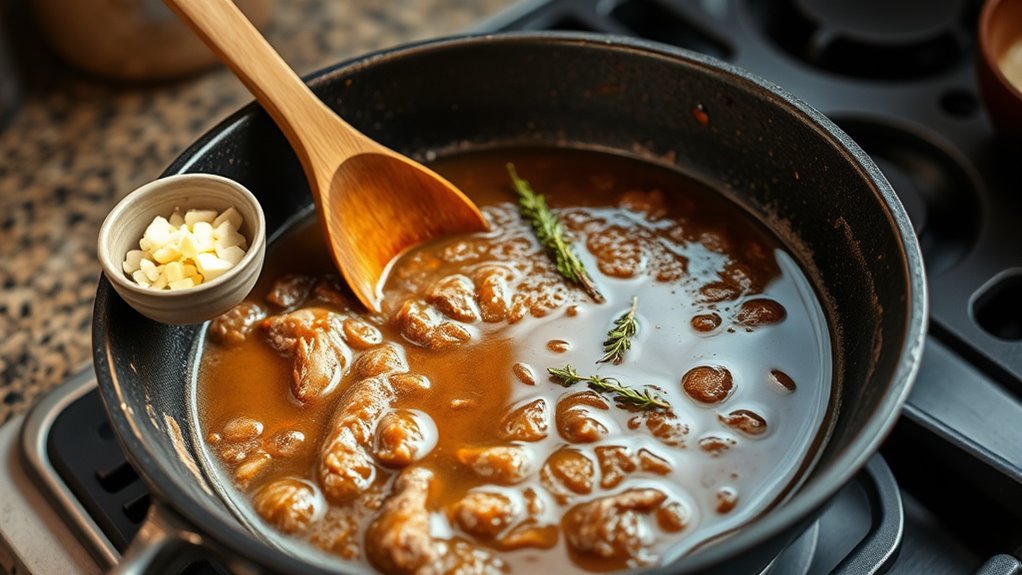
Creating a flavorful beef gravy starts with making a smooth roux, which acts as the thickening base. To do this, melt 2 tablespoons of beef fat or butter in a skillet over medium heat.
Whisk in an equal amount of flour and cook, stirring constantly, until the mixture turns a light golden color—about 1-2 minutes. Gradually add warm beef broth or drippings while whisking to prevent lumps.
Keep cooking and whisking until the gravy reaches your desired consistency, usually 5-8 minutes. The roux’s thickening ability is key to a smooth, rich gravy.
Finish and Serve
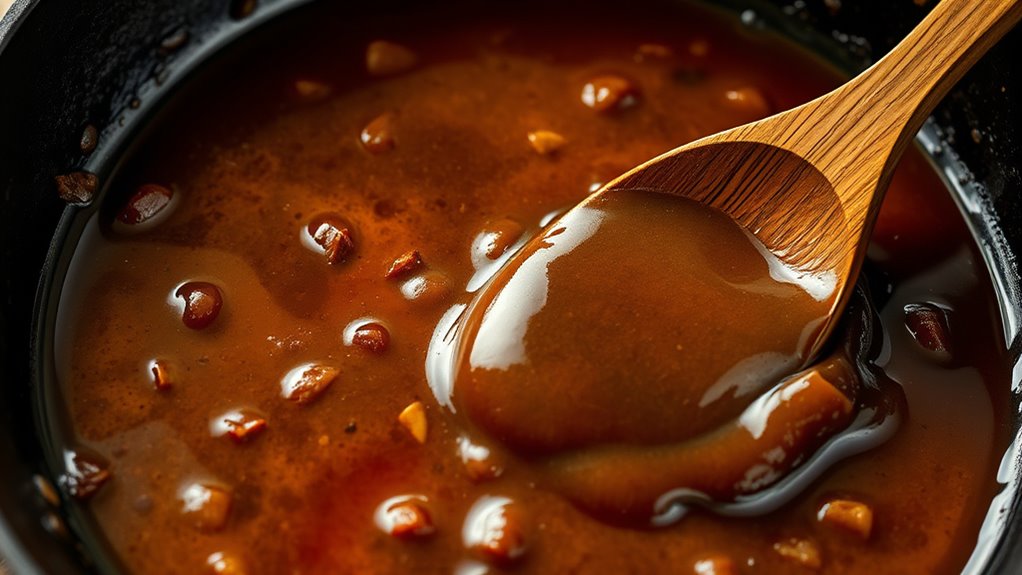
Are you ready to finish your beef gravy with confidence? First, strain the gravy through a fine-mesh sieve to remove any solids, making sure it’s smooth.
Taste it and adjust the seasoning with salt, pepper, or herbs to enhance the flavor. If the gravy is too thin, simmer it over low heat until it reaches your desired thickness.
For a richer flavor, whisk in a small amount of butter or cream just before serving. Reheat the gravy gently if needed, keeping it hot and flavorful.
Once everything is perfect, serve the beef gravy hot over meats, mashed potatoes, or roasted vegetables. This final step guarantees a delicious, well-seasoned, and properly textured gravy that complements your meal beautifully.
How to Thicken and Season Your Beef Gravy Just Right
To thicken your beef gravy to the perfect consistency, start by making a roux with equal parts flour and fat, cooking it until golden. Gradually whisk in warm beef broth or drippings while stirring constantly to ensure a smooth, thickened gravy.
For quicker thickening, mix a slurry of cornstarch and cold water, then stir it into the simmering gravy until it reaches your desired thickness. This method is fast and effective.
Here are some key steps:
- Use a roux for even thickening without lumps.
- Whisk in beef broth gradually for smoothness.
- Adjust seasonings like salt, black pepper, or herbs after thickening to balance flavors.
Taste and make adjustments as needed for a flavorful, well-balanced gravy.
Flavor Tips and Tricks to Customize Your Beef Gravy
Enhancing your beef gravy with flavor tips and tricks allows you to tailor it perfectly to your dish. Start by adding herbs like rosemary or thyme during cooking to infuse aromatic notes. A splash of red wine or balsamic vinegar can deepen the savory profile and introduce complexity.
Replacing water with beef broth boosts richness, while a touch of milk can mellow strong onion or garlic flavors. Adjust seasonings such as salt, pepper, and Worcestershire sauce to strike your desired flavor balance.
For the ideal consistency, use additional stock for thinning or cornstarch for thickening. These flavor customization techniques help heighten your gravy, making it a perfect complement to any beef dish.
Common Mistakes When Making Dripping-Based Beef Gravy: And How to Avoid Them
Making drip-based beef gravy is straightforward, but common mistakes can easily ruin its flavor and texture.
Simple to make, but avoiding common mistakes ensures rich, smooth beef gravy every time.
First, using too much fat from the pan drippings can make the gravy greasy and unbalanced.
Second, failing to scrape up and incorporate browned bits, or fond, from the pan reduces the gravy’s depth of flavor.
Third, adding cold liquid directly to hot drippings causes lumps; warming the liquid or whisking gradually prevents this.
Overcooking the roux or drippings can burn the flour, leading to bitter, overcooked flavors.
Finally, not straining the gravy before serving leaves behind solids and bits that affect texture and presentation.
Paying attention to these details guarantees a smooth, flavorful gravy every time.
Storing, Reheating, and Serving Leftover Beef Gravy
Properly storing and reheating beef gravy keeps its flavor and texture intact, so you can enjoy it just as much the second time around.
To store leftover beef gravy, transfer it to an airtight container and refrigerate for up to 4 days. For longer storage, freeze it in freezer-safe containers or zip-top bags for up to 3 months, then thaw in the refrigerator before reheating.
When reheating, do so slowly on the stovetop, stirring frequently. Add a splash of broth or water to restore the desired consistency. Avoid boiling vigorously, as this can cause separation and change the texture.
Always taste and adjust seasonings after reheating since flavors may diminish during storage. Proper storage and gentle reheating help keep your leftover beef gravy flavorful and smooth.
Troubleshooting: How to Fix Thin, Lumpy, or Bland Beef Gravy
If your beef gravy turns out thin, lumpy, or bland, don’t worry—there are simple fixes you can try.
To fix thin gravy, simmer it uncovered until it reduces and thickens, usually 10-15 minutes. For lumpy gravy, whisk in a small amount of warm stock or water gradually, stirring vigorously to smooth it out.
Simmer thin gravy uncovered to thicken; whisk in warm stock gradually to smooth out lumps.
If the gravy is bland, boost flavor with more salt, black pepper, or a splash of Worcestershire sauce or red wine. Passing the gravy through a fine-mesh sieve can help remove lumps and give it a smooth texture.
Always whisk in liquids gradually while heating to prevent lumps, and make sure your roux or flour mixture is fully cooked before adding liquid. These quick tricks will fix your gravy and improve its consistency and taste.
Frequently Asked Questions
How to Turn Drippings Into Gravy?
To turn drippings into gravy, start by pouring off excess fat, leaving about 2 tablespoons with browned bits.
Whisk in an equal amount of flour, cooking until golden. Gradually add warm beef broth while whisking to avoid lumps.
Let it simmer for 5-8 minutes until thickened. Season with salt and pepper, then strain for a smooth finish.
Adjust liquids as needed for your preferred consistency.
How to Make Gravy Out of Beef Liquid?
You probably think beef gravy is complicated, but it’s just a simple miracle in disguise. To make it from beef liquid, skim off excess fat, leaving about two tablespoons.
Whisk in an equal amount of flour and cook until golden. Then, slowly pour in beef broth while whisking nonstop.
Let it simmer until thickened, season to taste, strain for silkiness, and enjoy a rich, flavorful gravy ready to enhance any meal.
How to Make Beef Juice Into Gravy?
To turn beef juice into gravy, start by pouring off excess fat, leaving about 2 tablespoons of drippings in the pan.
Whisk in an equal amount of flour and cook until golden. Gradually add beef broth while whisking to avoid lumps.
Let it simmer until thickened, then season with salt, pepper, and herbs if you like.
Strain to smoothen, and your beef gravy is ready to serve.
What Is the 3 2 1 Rule for Gravy?
Imagine you’re making gravy for a roast, and you want it to turn out perfect. You can use the 3-2-1 rule: 3 parts flour, 2 parts fat, and 1 part liquid.
For example, mix 3 tablespoons of flour, 2 of beef drippings, and 1 cup of broth. This ratio helps you make a smooth, flavorful gravy with the right thickness.
It’s a simple way to ensure your gravy is delicious every time.
Conclusion
Making beef gravy from drippings is a simple way to elevate your meal, and with practice, you’ll find it becomes second nature. Did you know that using drippings for gravy can reduce waste and boost flavor by up to 30%? So next time you roast beef, save those drippings and follow these easy steps.
You’ll enjoy rich, homemade gravy that adds a delicious touch to every bite. Plus, it’s a skill worth mastering. Making beef gravy from beef drippings is a great way to enhance your dishes while making the most of every part of your roast.